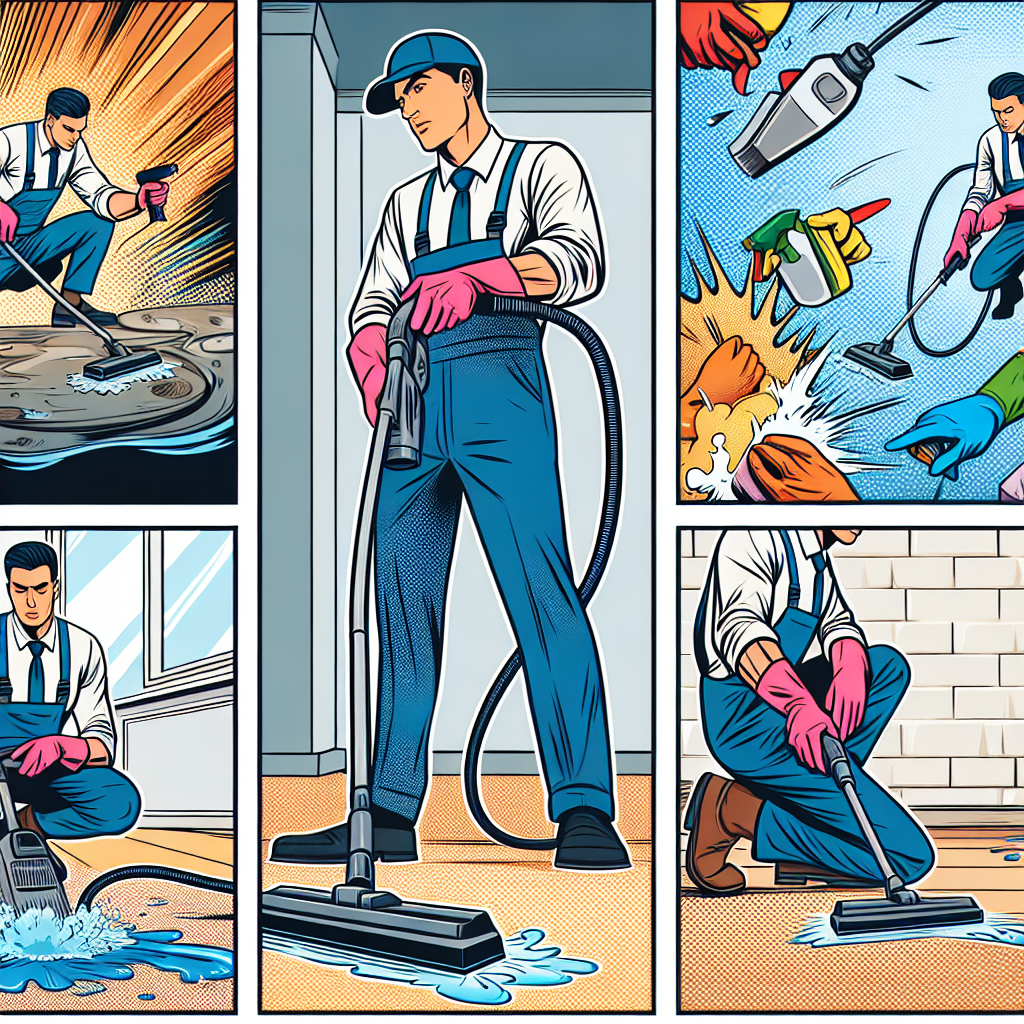
Dealing with stubborn stains can be a real headache, but fear not! With the right techniques and a bit of know-how, you can tackle even the toughest of stains. In this guide, we'll walk you through a step-by-step process to help you effectively remove those pesky marks and blemishes, leaving your surfaces looking fresh and clean.
Assessing the Stain
Before diving into the cleaning process, it's crucial to assess the type of stain you're dealing with. Different stains require different treatment methods, so take a moment to identify the stain and its source.
- Is the stain organic or inorganic?
- Does it contain oil, grease, or pigment?
- Consider the surface type to determine the best approach.
Pre-Treating the Stain
Pre-treating the stain is a crucial step in the stain removal process. It helps loosen the stain and makes it easier to remove during the cleaning phase.
- Apply a small amount of pre-treatment solution to the stain.
- Gently blot the stain with a clean cloth to work the solution into the fibers.
- Let the pre-treatment sit for a few minutes to penetrate the stain.
Choosing the Right Cleaning Agent
When it comes to stubborn stains, selecting the appropriate cleaning agent is key. Different stains require specific cleaners for effective removal.
- Consider using enzymatic cleaners for organic stains like blood or food.
- Opt for solvent-based cleaners for oil and grease stains.
- Use alkaline cleaners for water-soluble stains like coffee or tea.
Testing on a Small Area
Before applying the cleaning agent to the entire stain, it's essential to test it on a small, inconspicuous area to ensure compatibility with the surface.
- Apply a small amount of the cleaner to the test area.
- Wait for a few minutes to see if there is any adverse reaction.
- Continue only if the test area shows no negative effects.
Cleaning the Stain
Now it's time to tackle the stain head-on. Follow these steps to effectively clean the stain and restore your surface to its former glory.
- Apply the cleaning agent to the stain, following the product's instructions.
- Gently scrub the stain in a circular motion with a soft-bristled brush.
- Rinse the area thoroughly with clean water to remove any residue.
Drying and Inspecting the Area
After cleaning the stain, it's important to allow the area to dry completely before inspecting the results. This will give you a clear view of the stain removal effectiveness.
- Use a clean, dry cloth to blot the area and absorb excess moisture.
- Let the area air dry naturally or use a fan to speed up the process.
- Inspect the area under good lighting to ensure the stain is completely gone.
Pro Tip: For particularly tough stains, consider seeking professional cleaning services for specialized treatment and equipment.
Preventing Future Stains
Once you've successfully removed the stain, it's time to think about prevention. Implementing preventive measures can help minimize the chances of future stains.
- Regularly clean and maintain surfaces to prevent buildup and staining.
- Use protective mats or coatings to shield surfaces from spills and stains.
- Address spills and stains promptly to prevent them from setting in.
With these step-by-step guidelines, you're equipped to tackle stubborn stains effectively and efficiently. Remember, patience and the right approach can make all the difference in achieving a spotless environment. Happy cleaning!